I have taken the big step. I made up my mind to build my own laminated bows. Having built a few “self bows” I had a pretty good base to start from.
The reason I finally decided to build one was simple; I cannot find a left handed Ben Pearson Palomino. I have waited for and searched for two years now. One did show up on ebay, and I stopped bidding on it once it went over $300. I figured for that much I can just build one!
Now, knowing that starting with a recurve would doom me to failure. I figured that a Semi-recurve or as some call it a Reflex-Deflex Long bow would be the place to start.
To shorten my learning curve I bought the kit from Bingham Archery. It came with just about everything I needed. So after watching the DVD, reading the instructions and searching the internet, I was ready.
My first bow went off quite smoothly. I will say that I ordered it to be 40 pounds, but it came out closer to 48. After testing it, playing with it, all seemed well. Then one day it snapped. Confused as to why, I did a little research. Turn out that the riser in the kit was 4″ shorter than the bow I used as my design base. Lesson learned. So I ordered another set of materials for a bow and I will the price dropped big time.
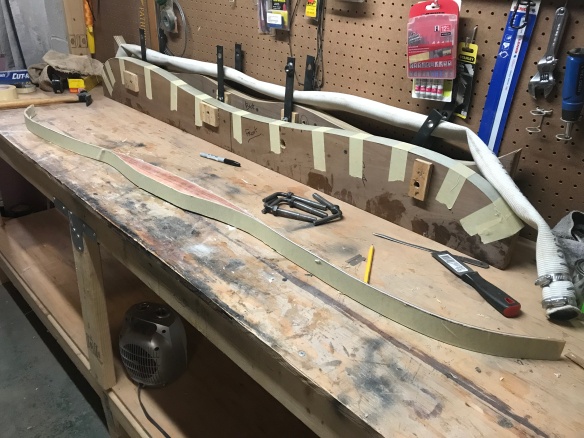
For my second bow, I ordered a 22″ riser and tried a few things to see what would happen. The first is that on my first bow used tapered laminations, for this one I went with Parallel laminations. Now I have not found out any advantage or disadvantage to either. So I was curious to see if there really is any.
The second is that I used wax paper instead of cling wrap. Bad choice. The laminations keep moving due to the paper. So much so, that I was forced to go from a planned 62″ bow to a 60″ bow. Man is this a messy process. I have so much bleeding or EA40, that I wonder if I’m using too much!

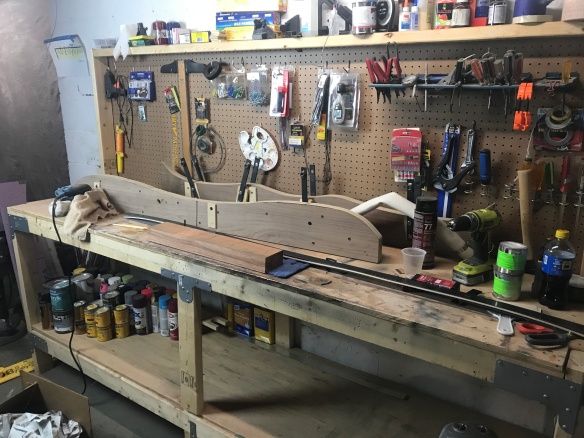
The third was that I wanted to make the shape much more fluid or organic and not so straight edged. What I found out was that when building these bows, having the proper tools is a huge help. I only have some, but not all and it really limits what you can and cannot do shape wise. The first is a good band saw. I have a Ryobi from the Home Depot and while nice, it is nowhere up to the challenge of working on a bow. Part of my shelf I had to cut by hand using an old hand saw!
The big tools I used to shape mine was a Drum Sander, Belt Sander and gold old rasp, files and sandpaper! After much it it is done. A vast improvement over my first one. It came out to 40 Pounds.
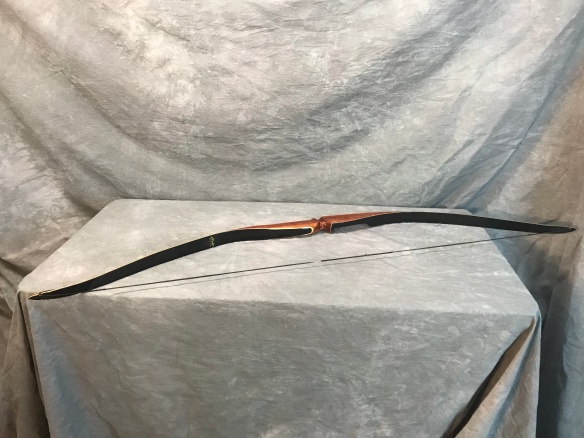
I also added some tip protectors. I used left over wood from the build combined with a layer of Phenolic, so the bow could accept a fast flight string
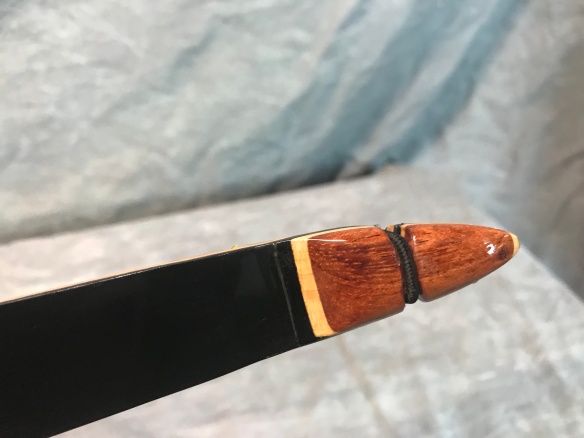
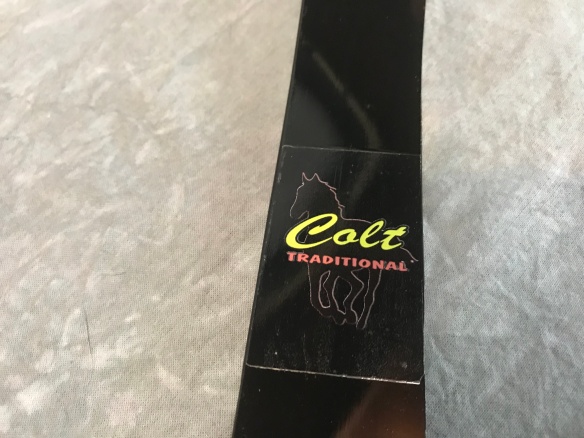
Put it on the Chronograph, average speed was 160 fps. The bow I based it off of was an Old Ben Pearson Collegian. But I wanted to pay tribute to another one I have that looks similar and its later models are some of my favorite bows. The Colt. So I called this bow the “Colt Traditional”. Had the decals made up for a cheap price and they came out pretty nice.
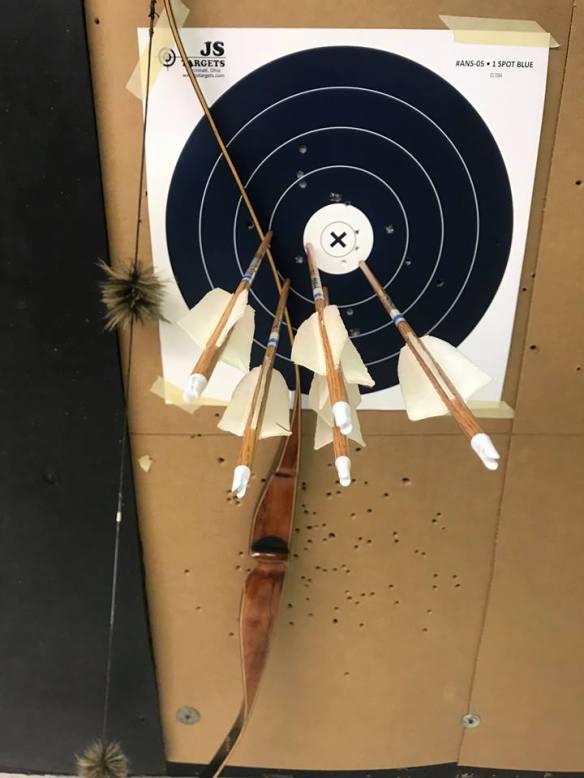
Took it to the range and set it up. Even did a 300 indoor round and scored a 234. Not too bad considering I have not shot indoor since last winter. The only downside is building bows can and is addictive. I’m already planning my next bow!